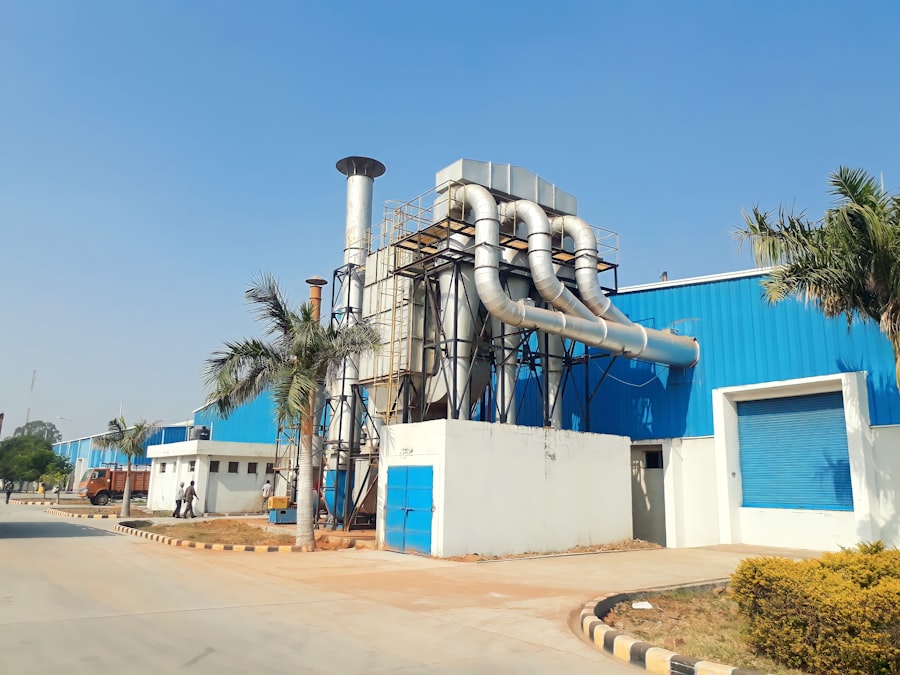
A water treatment plant is a complex system designed to transform raw water into potable water, safe for human consumption. While automated systems are increasingly prevalent, manual operation remains a critical aspect, particularly in smaller plants, during maintenance, or in emergency situations. This guide outlines the essential procedures for the manual operation of a conventional water treatment plant, providing a step-by-step approach to ensure efficient and effective water purification.
The journey of water purification begins with the intake of raw water and its initial conditioning. This stage is crucial in preparing the water for subsequent treatment processes.
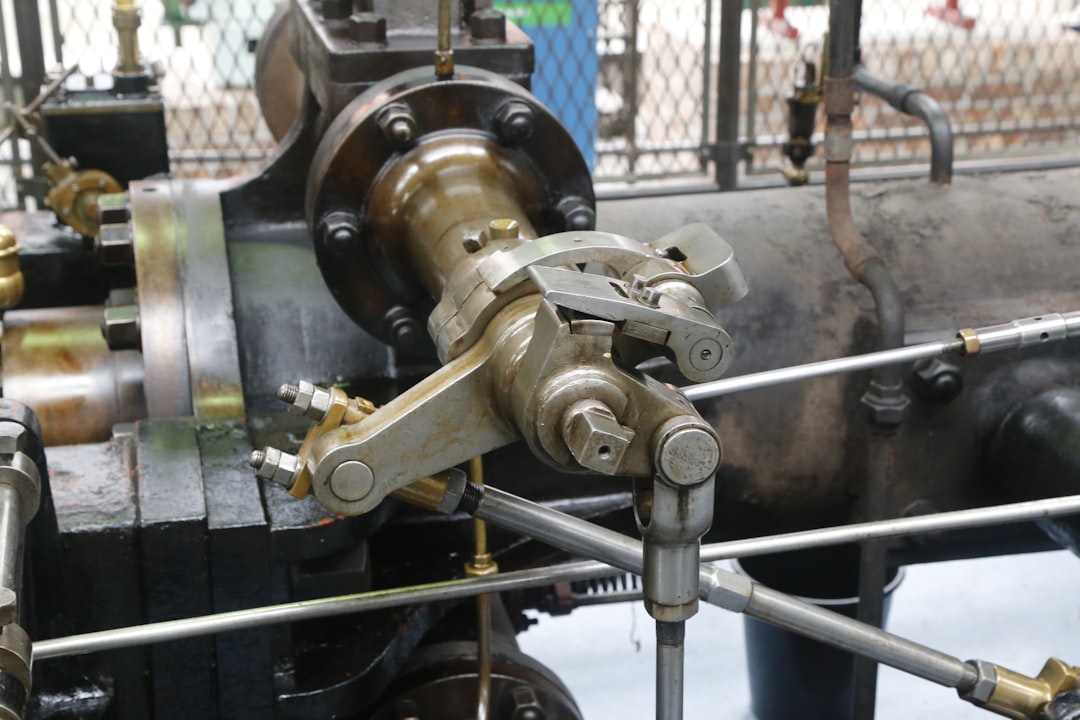
A. Raw Water Pumping Station Operation
- Inspection and Safety Checks:
Prior to initiating any pumping operations, a thorough visual inspection of the pumping station is paramount. This includes checking for any visible damage to pumps, motors, pipelines, and electrical connections. Ensure all safety guards are in place and emergency stop buttons are accessible and functional. Verify the absence of debris or obstructions around the pump intakes, which could impede flow or damage equipment.
- Pump Priming:
Many pumps, particularly centrifugal pumps, require priming before operation. This involves filling the pump casing and suction line with water to establish a continuous column of liquid and prevent cavitation. Procedures vary by pump type, but generally involve opening a priming valve or using a dedicated priming pump until water flows steadily from a vent. Failure to adequately prime can lead to pump damage and inefficient operation.
- Initiating Pump Operation:
Once primed, the pumps can be started. This typically involves activating the motor starter. Observe the pump’s discharge pressure and flow rate immediately after startup. Any abnormal noises, vibrations, or significant fluctuations in pressure or flow indicate a potential issue requiring immediate investigation. Record the start time and initial readings.
- Monitoring and Flow Control:
Continuous monitoring of pump performance is essential. This includes regularly checking discharge pressure gauges, flow meters, and motor amperages. Adjust pump speed or activate additional pumps as needed to maintain the desired flow rate to the treatment plant, dictated by demand and the plant’s design capacity. Avoid over-pumping, which can lead to inefficient operation and unnecessary energy consumption, or under-pumping, which can starve the downstream processes.
B. Screening and Debris Removal
- Coarse Screens and Bar Racks:
The first line of defense against large debris, such as leaves, branches, plastic, and other floating materials, are coarse screens or bar racks. These devices prevent larger objects from entering and damaging pumps or other equipment.
- Regular Inspection: Visually inspect the screens frequently, especially during periods of high raw water turbidity or after heavy rainfall, as these conditions often lead to increased debris loads.
- Manual Cleaning: When blockages are observed, activate mechanical screen cleaners if available. If not, manual cleaning using rakes or specialized tools is necessary. Exercise caution to avoid injury and never reach into moving parts.
- Debris Disposal: Collect and properly dispose of accumulated debris according to local environmental regulations.
- Fine Screens:
Following coarse screening, fine screens or micro-strainers remove smaller particulate matter, such as algae, fine suspended solids, and small organisms.
- Monitoring Differential Pressure: The primary indicator of fine screen effectiveness and potential clogging is the differential pressure across the screen. An increasing differential pressure suggests a buildup of material and reduced flow.
- Backwashing Procedures: Most fine screens are equipped with backwash systems. Initiate backwashing when the differential pressure reaches a predetermined threshold or on a scheduled basis. Follow the manufacturer’s specific instructions for backwash duration and sequence.
- Disposal of Backwash Water: Backwash water, containing concentrated impurities, must be properly managed. This often involves sending it to a sludge handling facility or a designated wastewater treatment process.
C. Girt Removal (if applicable)
In some raw water sources, particularly those with high sediment loads, grit removal is a crucial pre-treatment step. Grit, consisting of sand, silt, and other abrasive inorganic material, can cause significant wear and tear on pumps and other equipment.
- Grit Chamber Operation:
Grit chambers are designed to allow heavy grit particles to settle out while lighter organic matter remains suspended.
- Flow Velocity Control: Maintain the optimal flow velocity through the grit chamber. Too high a velocity will prevent grit from settling; too low a velocity will cause organic matter to settle, leading to putrefaction. Adjust inflow gates or weirs as necessary.
- Grit Scraper/Conveyor Operation: Periodically activate grit scrapers or conveyors to move accumulated grit to a collection hopper. Follow manufacturer guidelines for operating frequency and duration.
- Grit Washing (if present): Some grit removal systems include grit washers to separate organic material from the grit. Operate these systems according to specifications.
- Grit Disposal:
Collected grit, often containing some organic matter, requires proper disposal. This typically involves dewatering and landfilling.
For those interested in enhancing their understanding of manual water plant operation procedures, a valuable resource can be found in the article titled “Essential Guidelines for Effective Water Plant Management.” This article provides comprehensive insights and practical tips that can significantly improve operational efficiency. You can read it here: Essential Guidelines for Effective Water Plant Management.
II. Coagulation and Flocculation
Coagulation and flocculation are the heart of conventional water treatment, transforming tiny, stable particles into larger, settleable flocs.
A. Chemical Dosing System Management
- Coagulant Preparation:
Coagulants, such as aluminum sulfate (alum) or ferric chloride, are typically supplied in liquid form and require careful handling.
- Solution Preparation: If dry coagulants are used, prepare solutions according to precise specifications. Use appropriate personal protective equipment (PPE), including gloves, eye protection, and respirators, when handling corrosive or irritating chemicals. Ensure proper ventilation.
- Tank Level Monitoring: Regularly monitor the levels in coagulant storage tanks. Order and receive new chemical deliveries well in advance to prevent stockouts.
- Dosing Pump Calibration and Operation:
Coagulant dosing pumps are critical for precise chemical application.
- Calibration: Periodically calibrate dosing pumps to ensure accurate delivery rates. This involves measuring the volume of chemical pumped over a specific time period and comparing it to the desired dose. Recalibrate after any maintenance or significant changes in pumping conditions.
- Pump Activation: Start dosing pumps in conjunction with raw water flow, ensuring that chemical injection begins before water enters the rapid mix chamber.
- Initial Dose Setting: Based on jar tests and raw water quality, set the initial coagulant dose. The goal is to achieve optimal floc formation without overdosing, which can lead to inefficient operation and increased sludge production.
- pH Adjustment (if required):
Some coagulants are more effective within specific pH ranges. If the raw water pH is outside this optimal range, pH adjustment chemicals (e.g., lime, soda ash, or acid) may be required.
- Monitoring pH: Continuously monitor the pH of the water entering the rapid mix chamber.
- Dosing Adjustment: Adjust the dose of pH correction chemicals as needed to maintain the desired pH range, ensuring stable and effective coagulation.
B. Rapid Mix and Flocculation Basin Control
- Rapid Mixers:
The rapid mix chamber is where coagulants are instantly dispersed throughout the water.
- Mixer Activation: Ensure rapid mixers are operating at the correct speed to provide vigorous, but not destructive, mixing. The goal is to achieve uniform chemical distribution within a very short contact time, typically seconds.
- Observation: Visually inspect the rapid mix zone for proper mixing. A “boiling” or turbulent surface indicates adequate rapid mixing.
- Flocculation Basins:
Following rapid mix, water enters flocculation basins, where slow, gentle mixing allows the coagulated particles to aggregate into larger, more settleable flocs.
- Paddle Speed Adjustment: Flocculation basins typically employ paddles or impellers that rotate at progressively slower speeds through different compartments. Adjust paddle speeds as needed to encourage floc growth without breaking formed flocs. Too high a speed will shear flocs, while too low a speed will result in insufficient contact and growth.
- Visual Monitoring: Regularly observe the flocculation basins for evidence of proper floc formation. Ideal floc should be distinct, granular, and growing in size as water progresses through the basins. Poor floc formation (e.g., pin-floc or very large, easily shattered floc) indicates a need for coagulant dose adjustment or pH correction.
- Short-Circuiting Prevention: Ensure there is no short-circuiting of flow within the flocculation basins, which would allow water to bypass the full flocculation process. This can be indicated by uneven flow patterns or the presence of smaller flocs in later stages of the basin.
III. Sedimentation
Sedimentation is the passive process of allowing heavy flocs to settle out of the water column by gravity.
A. Sedimentation Basin Operation
- Inlet Flow Control:
Maintain a stable and uniform flow of flocculated water into the sedimentation basins. Turbulent or uneven inflow can disrupt the settling process and resuspend settled solids. Adjust inlet gates or weirs to achieve laminar flow.
- Sludge Blanket Management:
A layer of settled floc, known as the sludge blanket, accumulates at the bottom of the sedimentation basin.
- Sludge Depth Monitoring: Regularly monitor the depth of the sludge blanket. This can be done visually or using specialized sludge depth meters. An optimal sludge blanket depth, typically between 1-3 feet, helps in further clarification by providing a “filtration” effect for incoming water, but too deep a blanket can lead to solids carryover.
- Sludge Removal Frequency: Operate sludge removal mechanisms (e.g., scrapers, suction headers) on a scheduled basis or when the sludge blanket reaches a predetermined depth.
- Sludge Pump Operation: Activate sludge pumps to transfer settled sludge to thickening or dewatering facilities. Monitor pump performance and discharge characteristics.
- Weir and Trough Inspection:
- Weir Levelness: Ensure that the effluent weirs, over which clarified water flows, are level. Uneven weirs will cause some areas to draw disproportionately more water, potentially leading to solids carryover. Adjust weir plates or overflow mechanisms as needed.
- Scum Removal: Periodically remove any floating scum or debris that accumulates on the surface of the sedimentation basins. This material can be a source of turbidity and odors.
IV. Filtration
Filtration is the final physical barrier, removing any remaining suspended particles not captured during sedimentation.
A. Filter Bed Preparation and Operation
- Filter Backwashing:
Over time, suspended particles accumulate within the filter media (sand, anthracite, granular activated carbon), increasing the head loss across the filter and reducing its effectiveness. Backwashing reverses the flow of water through the filter, dislodging and removing accumulated solids.
- Initiating Backwash: Backwash a filter when the head loss reaches a predetermined maximum (e.g., 8-10 feet), the effluent turbidity increases significantly, or on a scheduled basis (e.g., every 24-72 hours).
- Backwash Sequence: Follow the established backwash sequence precisely. This typically involves:
- Taking the filter out of service by closing the influent and effluent valves.
- Draining the filter to a specified level (if air scour is used).
- Initiating air scour (if applicable) to agitate the media and loosen solids.
- Initiating backwash water flow, typically from the clearwell, pushing water upwards through the filter media.
- Controlling backwash rate to achieve adequate media expansion without excessive loss of media. Visually monitor the clarity of the backwash wastewater.
- Terminating backwash when the backwash water runs clear.
- Allowing the filter to settle.
- Rinsing the filter to waste (filter-to-waste) for a short period to stabilize the filter bed and remove any residual impurities before returning it to service.
- Filter-to-Waste:
After backwashing,
After backwashing, a “filter-to-waste” cycle is performed. This involves diverting the initial filtered water, which may still contain some residual turbidity or be unsettled due to the disturbed bed, away from the clearwell and to a waste line.
- Monitoring Turbidity: Continuously monitor the turbidity of the filter-to-waste effluent. The filter can be returned to service only when the turbidity consistently meets established operational limits. This ensures that only high-quality filtered water proceeds to disinfection.
- Return to Service:
Once the filter-to-waste turbidity is acceptable, slowly return the filter to service by opening the influent and then the effluent valves. Avoid rapid changes in flow, which can disturb the filter bed and cause a temporary increase in turbidity.
B. Filter Performance Monitoring
- Effluent Turbidity:
The most critical parameter for monitoring filter performance is effluent turbidity. Continuous online turbidimeters are typically employed for this purpose.
- Alarm Thresholds: Set alarm thresholds for turbidity. An alarm indicates a problem with the filter and requires immediate investigation and corrective action, potentially including taking the filter out of service for re-backwash or inspection.
- Regulatory Compliance: Ensure that filtered water turbidity consistently meets regulatory standards (e.g., < 0.3 NTU for 95% of measurements for conventional filtration).
- Head Loss Measurement:
Continuously monitor the head loss across each filter. This provides an indication of the accumulation of solids within the filter bed and helps determine when backwashing is necessary. Trending head loss over time helps predict future backwash cycles and assess filter run times.
For those interested in enhancing their understanding of manual water plant operation procedures, a valuable resource can be found in a related article that provides comprehensive insights and guidelines. This article not only covers essential techniques but also emphasizes the importance of safety protocols in water treatment processes. To explore more about these operational standards, you can visit the detailed guide available at this link.
V. Disinfection and Post-Treatment
| Procedure Step | Description | Frequency | Responsible Personnel | Key Metrics | Safety Precautions |
|---|---|---|---|---|---|
| Pre-Operation Inspection | Check all equipment, valves, and pipelines for leaks or damage. | Daily | Operator | Number of defects found, Inspection completion time | Wear protective gloves and goggles |
| Start-Up Procedure | Manually start pumps and open valves in sequence. | Each shift start | Operator | Start-up time, Pump pressure readings | Ensure no personnel near moving parts |
| Flow Rate Adjustment | Adjust flow rates manually to meet demand. | As needed | Operator | Flow rate (m³/hr), Pressure levels | Monitor pressure gauges continuously |
| Chemical Dosing | Manually add chemicals for water treatment. | Daily or as required | Chemical Technician | Chemical dosage amount, pH levels | Use chemical-resistant PPE |
| Routine Cleaning | Clean filters, screens, and tanks manually. | Weekly | Maintenance Team | Cleaning duration, Filter clogging rate | Lockout/tagout equipment before cleaning |
| Shutdown Procedure | Manually shut down pumps and close valves. | End of shift or maintenance | Operator | Shutdown time, Equipment status | Confirm all equipment is off before leaving |
| Emergency Response | Manual intervention during system failure or leaks. | As needed | All trained personnel | Response time, Incident reports | Follow emergency protocols and wear PPE |
Disinfection is the final critical barrier, eliminating pathogenic microorganisms from the water. Post-treatment involves final adjustments to water quality.
A. Disinfection Chemical Application
- Chemical Handling and Safety:
Disinfectants, such as chlorine gas, sodium hypochlorite, or chloramine, are highly reactive and require extreme caution during handling, storage, and application.
- PPE: Always wear appropriate PPE, including chemical-resistant gloves, eye protection, and respirators, as dictated by the Material Safety Data Sheet (MSDS) for each chemical.
- Ventilation: Ensure adequate ventilation in chemical storage and dosing areas.
- Emergency Procedures: Be thoroughly familiar with emergency procedures for chemical leaks or spills, including the location and operation of safety showers, eyewash stations, and spill containment equipment.
- Dosing Pump/Feeder Operation:
- Dose Setting: Set the disinfectant dose based on raw water quality, required contact time (CT), and desired residual disinfectant level in the distribution system. This often involves trial and error combined with historical data and laboratory analysis.
- Calibration: Periodically calibrate disinfectant dosing pumps or gas feeders to ensure accurate and consistent application.
- Monitoring Chemical Feed: Continuously monitor the chemical feed rate to ensure the correct dose is being applied. This may involve rotameters for gas, or flow meters for liquid chemicals.
- Residual Monitoring: The most important indicator of effective disinfection is the residual disinfectant level. Continuously monitor the residual disinfectant concentration after the prescribed contact time. Adjust the dose as needed to maintain the target residual.
- Contact Time (CT) Management:
Disinfection effectiveness is a function of both disinfectant concentration (C) and contact time (T).
- Flow Rate Influence: Maintain consistent flow rates through the contact basin (e.g., clearwell) to ensure adequate contact time for the applied disinfectant. Changes in flow can significantly alter actual CT.
- Baffling: Ensure that baffling within the contact basin is effective in preventing short-circuiting, forcing water to follow a longer, more circuitous path to maximize contact time.
B. pH Control (if required)
After disinfection, it may be necessary to adjust the water’s pH for corrosion control, often raising the pH to make the water less corrosive to pipes.
- Chemical Dosing:
Alkalinity-boosting chemicals, such as lime or soda ash, are typically used for pH adjustment.
- Dose Setting: Determine the required dose based on the target pH and alkalinity, considering the water’s buffering capacity.
- Monitoring: Continuously monitor the pH of the finished water after the addition of adjustment chemicals.
C. Fluoridation (if applicable)
Many communities add fluoride to drinking water for dental health benefits.
- Fluoride Dosing System:
- Chemical Handling: Handle fluoride chemicals (e.g., hydrofluosilicic acid, sodium fluorosilicate) with strict adherence to safety protocols, similar to other treatment chemicals.
- Dose Setting: Set the fluoride dose to achieve the target concentration, typically 0.7 mg/L, according to regulatory guidelines.
- Monitoring: Continuously monitor the fluoride concentration in the finished water using online analyzers and periodic laboratory grab samples.
VI. Clearwell Management and Distribution
The clearwell is the final storage point before water enters the distribution system.
A. Clearwell Level Control
- Inflow/Outflow Balance:
Maintain a stable clearwell level, ensuring that the inflow from the treatment plant matches the outflow to the distribution system.
- Pump Control: Adjust the speed or number of high-service pumps to meet distribution demands while preventing the clearwell from overflowing or running dry.
- Alarms: Respond promptly to clearwell high or low-level alarms, which indicate an imbalance requiring immediate action.
B. High-Service Pumping Stations
- Pump Operation:
Operate high-service pumps to send finished water into the distribution network.
- Pressure Monitoring: Monitor discharge pressure and flow rates to ensure adequate pressure is maintained throughout the distribution system.
- Demand Responsiveness: Start or stop pumps, or adjust their speed, to match fluctuating water demands from consumers.
VII. Process Monitoring and Data Recording
Comprehensive monitoring and meticulous data recording are not merely administrative tasks; they are the bedrock of effective water treatment. Think of them as the plant’s nervous system and memory.
A. Routine Sampling and Analysis
- In-Plant Testing:
Operators perform a variety of routine tests on raw, settled, filtered, and finished water throughout the day.
- Parameters: Key parameters include turbidity, pH, alkalinity, hardness, residual disinfectant, temperature, and sometimes specific contaminants like iron or manganese.
- Frequency: Follow established sampling schedules and analytical procedures precisely. Use properly calibrated instruments and fresh reagents.
- Data Interpretation: Understand what each result signifies. For example, an unexpected increase in settled water turbidity might indicate inadequate coagulation, while a sudden drop in finished water residual suggests a dosing issue.
- Laboratory Submissions:
Regularly collect and submit samples to a certified external laboratory for more complex and regulatory-mandated analyses, such as bacteriological testing (coliforms), specific organic and inorganic contaminants, and compliance monitoring.
B. Data Logging and Record Keeping
- Manual Logs:
Maintain accurate and detailed manual logs of all operational parameters, chemical dosages, pump run times, backwash cycles, instrument readings, and observations. Each entry should include the date, time, and operator’s initials. This serves as a vital historical record and a diagnostic tool.
- Regulatory Compliance:
Ensure all recorded data meets local, state, and national regulatory reporting requirements. These records are often audited and are essential for demonstrating compliance and plant performance.
VIII. Emergency Procedures and Troubleshooting
Even with meticulous routine operation, emergencies can arise. Operators must be prepared to respond swiftly and effectively.
A. Loss of Power
- Generator Activation:
In the event of a power outage, immediately activate backup power generators. Ensure that critical equipment, such as raw water pumps, chemical dosing pumps, and disinfection systems, are connected to the emergency power supply.
- Prioritizing Operations:
If generator capacity is limited, prioritize essential operations, such as disinfection and maintaining distribution system pressure, over less critical processes.
B. Chemical Spill Response
- Containment:
In the event of a chemical spill, immediately initiate containment protocols. This may involve closing valves, deploying absorbent materials, or activating spill prevention systems.
- Notification:
Alert supervisors and emergency services (e.g., fire department, HAZMAT teams) as per the plant’s emergency response plan.
- Cleanup:
Only personnel trained in hazardous material handling should participate in cleanup operations, using appropriate PPE.
C. Water Main Break or Contamination Event
- Isolation:
In the event of a water main break or suspected contamination, isolate the affected area within the distribution system to prevent further spread.
- Public Notification:
Issue boil water advisories or other public health alerts as directed by health authorities.
- Flushing and Testing:
After repairs or resolution of a contamination event, thoroughly flush affected mains and collect multiple samples for bacteriological and chemical analysis before returning the area to normal service.
D. General Troubleshooting
- Systematic Approach:
When operational problems arise, adopt a systematic troubleshooting approach.
- Identify Symptoms: Clearly define the problem (e.g., high turbidity, low residual, pump failure).
- Check Related Parameters: Review data from upstream and downstream processes, chemical dosages, and instrument readings that might be related.
- Isolate the Cause: Methodically eliminate potential causes until the root of the problem is identified.
- Implement Corrective Action: Take appropriate action, which may involve adjusting chemical doses, backwashing a filter, repairing equipment, or consulting with senior operators or engineers.
- Verify Resolution: Monitor the system to ensure the problem has been resolved and that corrective actions have not introduced new issues.
Conclusion
Manual operation of a water treatment plant demands vigilance, precision, and a deep understanding of each process. From the initial intake of raw water to the final disinfection and distribution, every step plays a crucial role in delivering safe and potable water to the community. By meticulously following these step-by-step procedures, water operators serve as the protectors of public health, ensuring that the complex machinery of water purification functions seamlessly, day in and day out. This guide provides a framework, but continuous training, experience, and a commitment to excellence are the true drivers of successful manual plant operation.
FAQs
What are manual water plant operation procedures?
Manual water plant operation procedures are step-by-step instructions that guide operators in managing and controlling water treatment processes without the use of automated systems. These procedures ensure safe, efficient, and consistent treatment of water.
Why is it important to follow manual water plant operation procedures?
Following manual operation procedures is crucial to maintain water quality, ensure compliance with regulatory standards, prevent equipment damage, and guarantee the safety of both operators and the public.
What are the common steps involved in manual water plant operation?
Common steps include starting and stopping equipment, monitoring water quality parameters, adjusting chemical dosing, performing routine inspections, recording operational data, and responding to alarms or irregularities.
How often should manual water plant operation procedures be reviewed or updated?
Procedures should be reviewed regularly, typically annually or whenever there are changes in regulations, equipment, or operational practices, to ensure they remain accurate and effective.
What safety precautions should be taken during manual water plant operations?
Operators should wear appropriate personal protective equipment (PPE), follow lockout/tagout procedures when servicing equipment, handle chemicals carefully, and be trained in emergency response protocols to minimize risks.